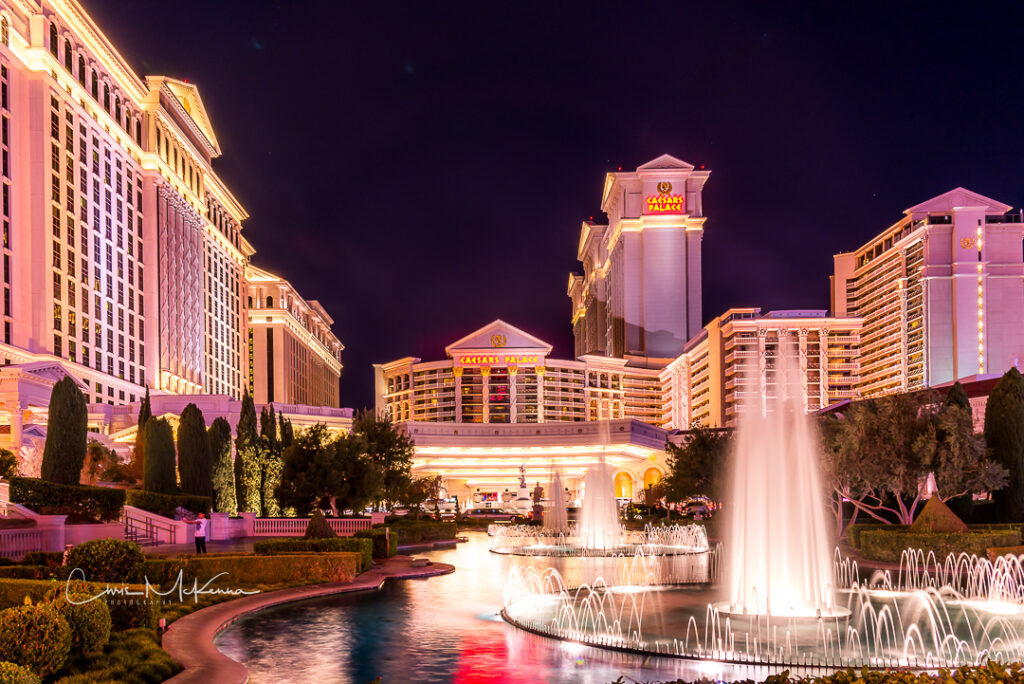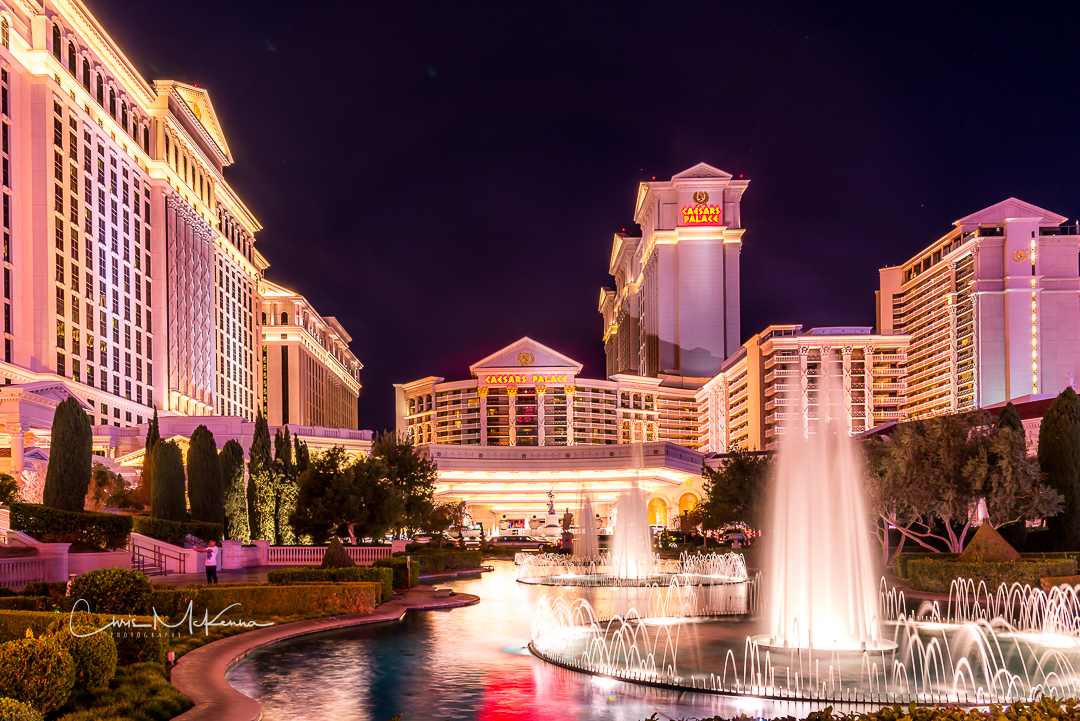
Night photography opens up a world of creativity and mystery, allowing you to capture the beauty of the night in ways you’ve never imagined. As a professional photographer, I remember my own journey into the world of night photography, and I’m excited to guide you through the basics. Whether you’re fascinated by cityscapes, starry skies, or the ethereal glow of moonlight, this beginner’s guide will help you get started in night photography.
- Gear Essentials: a sturdy tripod: night photography usually requires long exposures, so a reliable tripod is essential to keep your camera steady. A DSLR or mirrorless camera will allow manual control over settings, particularly ISO and exposure time. A fast lens or a lens with a wide aperture (low f-number) like f/2.8 or lower is ideal for letting in more light. Finally, a remote shutter release or timer will reduce the risk of camera shake during a long exposure.
- Understand Your Camera Settings: Manual Mode: to have full control over your settings. Low ISO: start with a low ISO (e.g., 100 or 200) for minimal noise. Wide Aperture: use the widest available aperture (lowest f-number) to let in more light. Slow shutter speeds: experiment with exposures ranging from a few seconds to several minutes depending on what you’re trying to achieve.
- Focus in the Dark: autofocus can and will often struggle in low light. So use manual focus and adjust your lens to infinity for capturing distant scenes. For subjects closer to you, use a flashlight to help you achieve precise focus.
- Light Painting: Light painting involves using a flashlight or another light source to selectively illuminate parts of your scene during a long exposure. This technique can add an artistic and surreal touch to your night photographs. A word of caution, however, make sure you are not light painting in areas or around subjects where your lights will disturb or disrupt other photographers’ images. A little courtesy goes a long way.
- Avoid Overexposure: keep an eye on your camera’s histogram to avoid overexposure. Night scenes often have bright highlights (e.g., city lights, stars), so you may need to reduce your exposure time or close your aperture slightly.
- Explore White Balance: Experiment with different white balance settings to achieve the desired mood in your photos. For example, using a “Tungsten” or “Incandescent” white balance can add a warm, cozy feel to your shots. However, this can be adjusted in post processing if you are shooting RAW images.
- Plan and Scout Locations: visit your chosen location during daylight to scout for interesting compositions. This will save you time and ensure you capture the best shots once the sun goes down.
- Patience and Persistence: night photography can be challenging, so don’t be discouraged by initial failures. Keep experimenting, learning, and refining your skills. Practice makes perfect in this genre.
- Post-Processing: post-processing is an integral part of night photography. It allows you to enhance details, reduce noise, and fine-tune your images to bring out their true potential. Tools such as Adobe’s Lightroom and Topaz products can help perfect that image.
- Safety First: when photographing at night, especially in remote or unfamiliar locations, ensure your safety. Always let someone know your whereabouts and consider bringing a friend along.
Getting started in night photography can be both exciting and rewarding. But remember that it’s a journey and not a destination. Be patient, learn from your experiences, and let your creativity shine in the darkness. So grab your camera, your tripod and other night photography essentials, your sense of adventure, and start capturing the magical world that comes to life after sunset.
Happy shooting!
Chris
