Exploring Egypt: A Journey Through Time
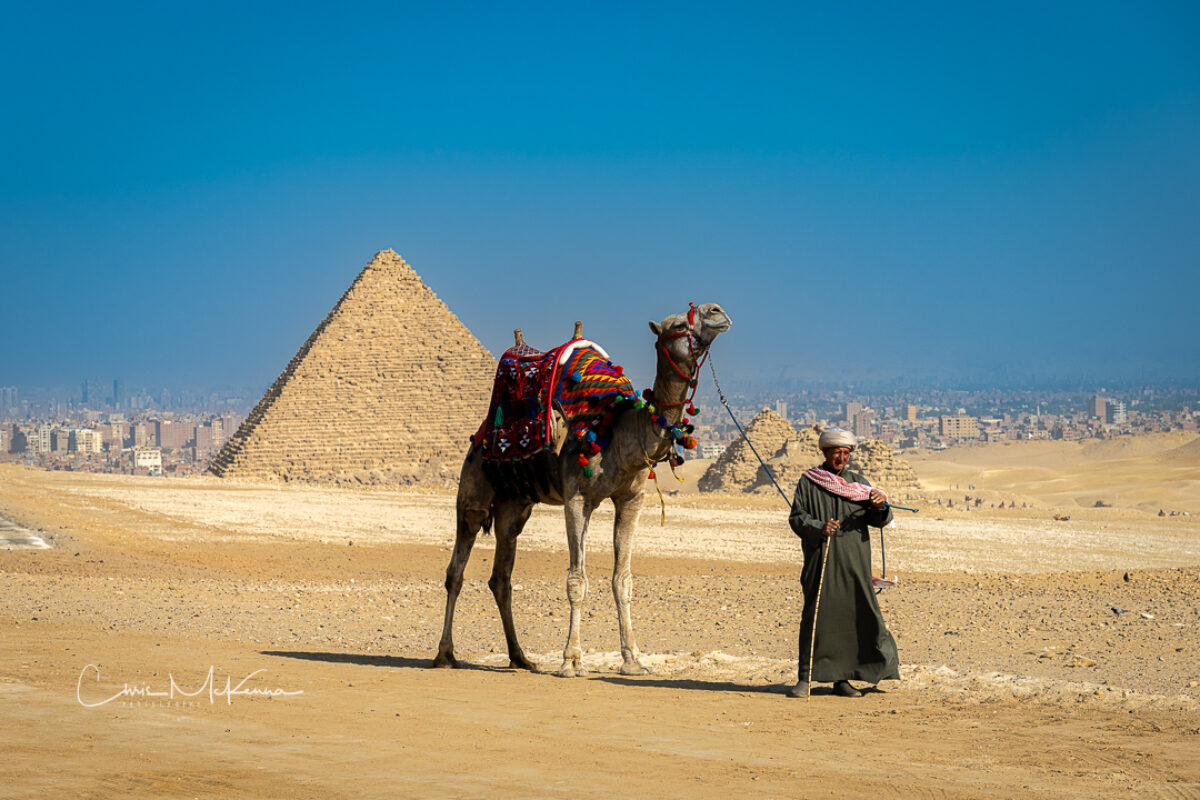
Last year at this time, we embarked on an unforgettable adventure to Egypt, a land steeped in history and brimming with natural beauty. From the depths of the Red Sea…
Last year at this time, we embarked on an unforgettable adventure to Egypt, a land steeped in history and brimming with natural beauty. From the depths of the Red Sea…

Hello friends. One of the most significant elements of a wedding day is the photography. The images captured will become cherished memories, shared with friends and family, and revisited for…
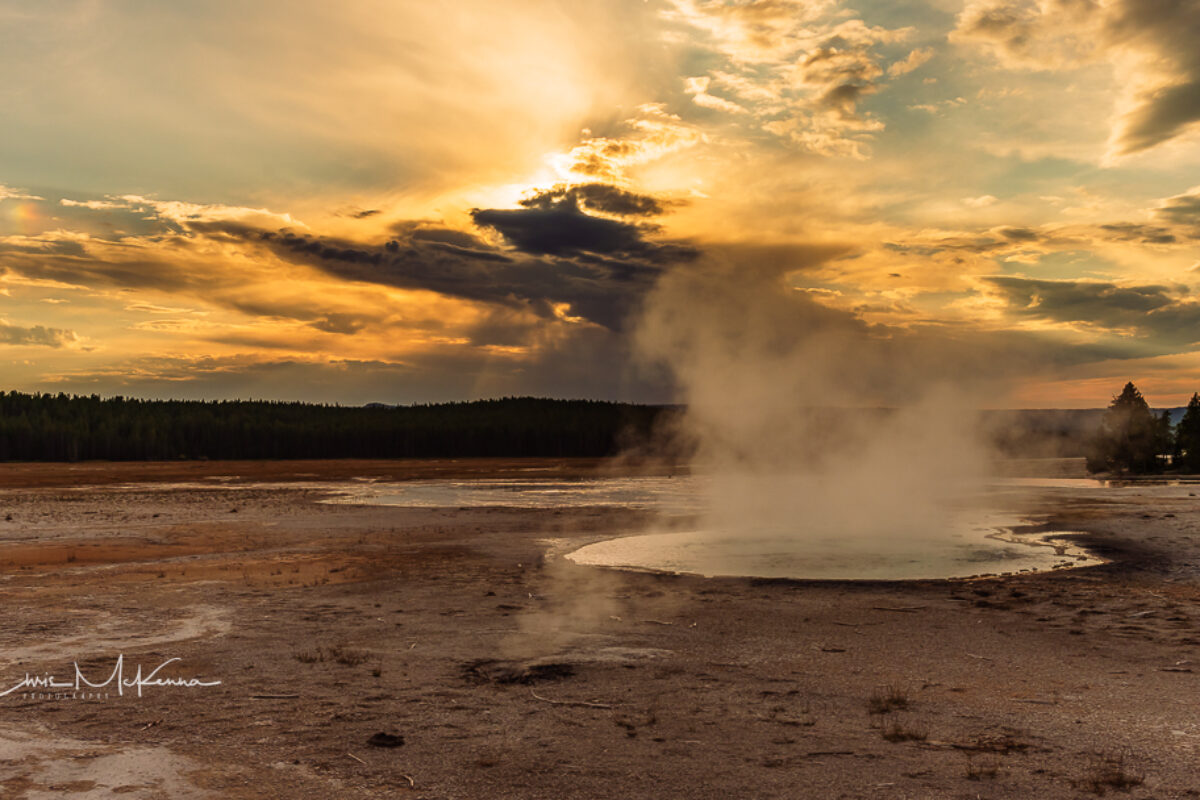
Author's Note: I'm finally sitting down to pen our unforgettable journey to discover Yellowstone National Park. It's embarrassingly overdue, but as they say...better late than never! Join me as I…
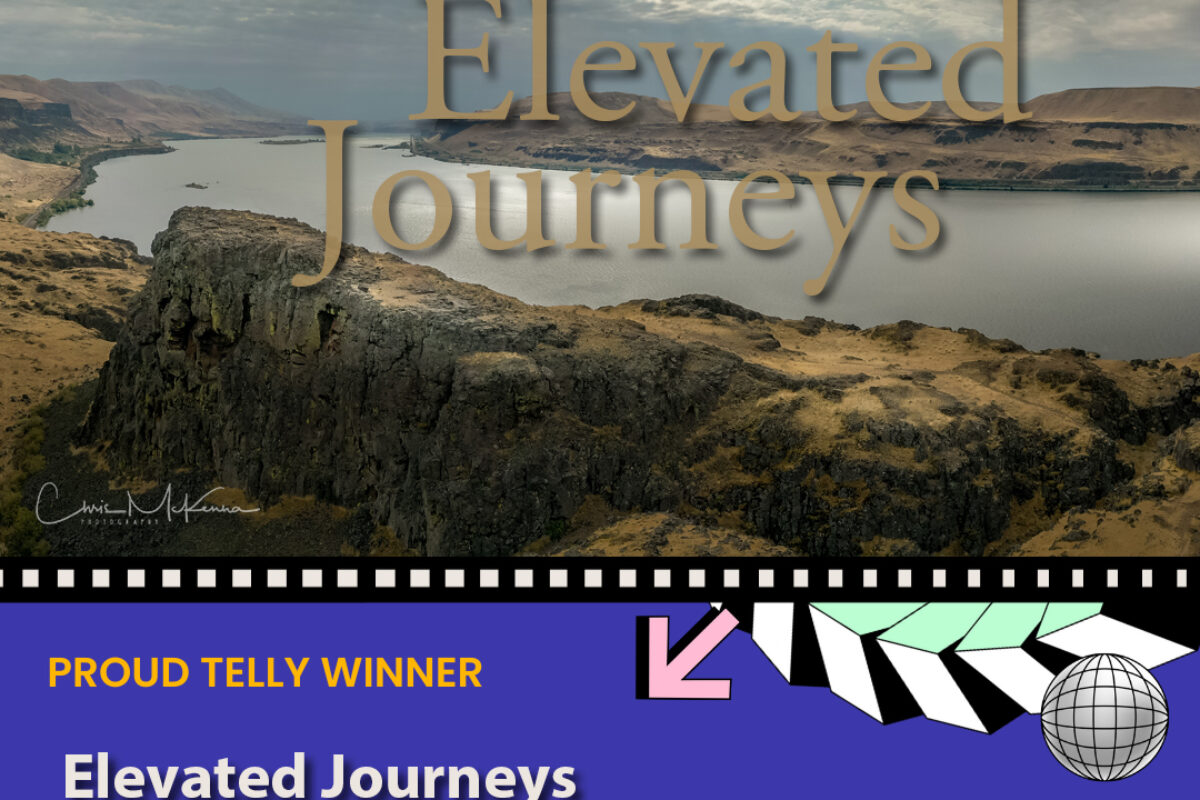
We are thrilled to announce that for the third year in a row, our team has won a prestigious Telly Award for Aerial Cinematography. This recognition is a testament to…

Hi Friends!! Welcome to our latest photography blog post, where I sometimes delve into unraveling the secrets behind capturing stunning images. Today, I'm diving into the art of composition, focusing…

Night photography opens up a world of creativity and mystery, allowing you to capture the beauty of the night in ways you've never imagined. As a professional photographer, I remember…
As a professional photographer who has had the privilege of exploring the stunning landscapes of some of our national parks and other remarkable landmarks, I've witnessed both the breathtaking beauty…

Hello aspiring photographers. Selecting the right camera is an exciting yet daunting task, especially when you're just starting out. As a professional photographer, I've seen many beginners struggle with this…
Welcome to our photography blog, where we're dedicated to helping you enhance your photography skills and artistic vision. In this installment, we're delving into the world of candid portrait expressions—a…