Tag Archives: Photography Tips

Tips for Taking Great Halloween Photographs

halloweenHalloween is a great time for photography! Halloween parties, carved pumpkins, costumes and trick-or-treaters are just part of the fun that you will want to capture for posterity. So here are few tips to make sure that you get great Halloween photographs.

1.  Fall leaves make great backgrounds for Halloween photographs. If the weather is cooperative, make sure to capture the full array of colors in those photographs;

2.  Make sure to vary your shooting angles. Something unique may give your photo that extra something to make it fantastic;

3.  Get down to their level. If you are trying to take photos of small children, take the photograph at their eye-level;

4.  Taking photographs of people in costumes? Make sure you take them early when makeup is still fresh;

5.  Take a variety of photographs: some posed, some candids, some groups, and some individual. Make sure the background is appropriate for the subject (i.e., not putting the pretty princess in the “graveyard”);

6.  Play around with the “night mode” on your camera. Many pictures are ruined by harsh flash, try to turn off the flash (if area is appropriately lit), raise your ISO to 400 or 800, turn down your shutter speed, and put your camera on a tripod.

And above all else stay safe!!!

Happy Halloween.

Chris
Posted in Photography Tips & Techniques Also tagged , , , , , |

Tips for Great Fireworks Pictures

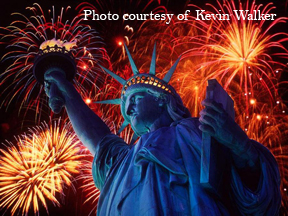
SOLFW_smallIndependence Day is just a few days away, and if you are like me, you love to take pictures of all the day’s events, including fireworks displays. While your average family snapshots are a breeze with most of today’s automatic point-and-shoot and semi-automatic cameras, capturing fireworks can be somewhat tricky. So I have prepared a few tips to help you make the most of those opportunities.

    1.  Find a good display to photograph and get as close as possible. Nothing is worse than a meager display or being so far removed from the action that the display is overshadowed by the back of the crowd.

    2. Usually, using a tripod is my number 1 tip, but although I have relegated it to number 2 here it is still important nonetheless. The reason I say use a tripod is that because it is dark you will need a long exposure to capture the burst and to avoid a blurry picture. Even with today’s anti-shake technology built into cameras and lenses blurry pictures will result from even the slightest movement in a long exposure picture.

    3. Some of today’s new cameras may actually have a “fireworks” mode, and if so, set it to that (I am not intimately familiar with every make and model of camera, sorry folks). If not, put your camera in manual mode and set the shutter speed to 5 seconds, aperture to f8, and ISO to 200 for starters. Snap an image and see how in looks. If needed, adjust only the shutter speed, leaving aperture and ISO as is. A longer shutter speed will allow the burst to expand in your image. But beware, at the end of the show fireworks usually come in fast and furious, so a slower shutter speed may overexpose the image. Adjust down as needed.

    4. If you can, include a landmark in your image. This will help with scale and may provide some relevance. Also, as the fireworks burst over or near that landmarks, they will illuminate it nicely.

    5. Take a lot of photos and discard the bad ones! Digital camera allow us to take a lot of photos with no cost, so shoot away. And ask yourself the question when editing that is always asked of me: “what are you going to do with that picture?” If the answer is not post in my online album, share with friends, or print and/or frame, then maybe it needs to end up in your computers recycle bin.

      Best wishes for great fireworks photos and from my family to yours, have a safe and sane 4th of July!

      Blessings,

      Chris.

      Posted in Photography Tips & Techniques Also tagged , , |

      10 Tips for Photographing Babies

      Smith_171I love taking photographs of babies. Ok, let me rephrase–I love taking pictures of happy babies! 🙂 Unfortunately for me, I don’t get to photograph them often enough. My own children have grown up so unless business calls, I don’t get much of a chance.
      But when I do, I try to follow the follow the following simple guidelines. I post them here in the hopes that if you follow them, you may get some great photographs of your babies.

      1.  Take pictures often – babies grow far too quickly so it is important to capture enough photos as they grow out of infancy.

      2.  Get down on their level – move to their level, even if it means getting on the floor.

      3.  Move in close … – fill the viewfinder or LCD with your subject and eliminate distracting objects.

      4. … but try different angles – create some visual interest, especially in a series of photographs, by varying your angle.

      5. … and don’t forget to get on their level – See tip #2.

      6.  Capture feelings – feeling are emotions and it is ok to take photographs of emotion to capture a visually interesting moment in time.

      7.  Include other people – babies don’t grow up in a vacuum, so it is ok to include grandparents, sibling, a new friend at the playground, etc.

      8.  Show scale – use common object to show how your baby is growing.

      9.  Use a plain background – a plain background will focus attention on your baby and will not be a distraction.

      10. Use natural light whenever possible. Turn off the flash, and use natural light to create interesting shadows and highlights.

      By following these simple tips, I know that you can snap some better photographs of your baby. Of course, these rules apply to other situations too.

      God’s blessings.

      Posted in Baby and Children Portraits, Photography Tips & Techniques Also tagged , , , , , |

      5 Camera Terms You Need to Know Before Buying a New Camera

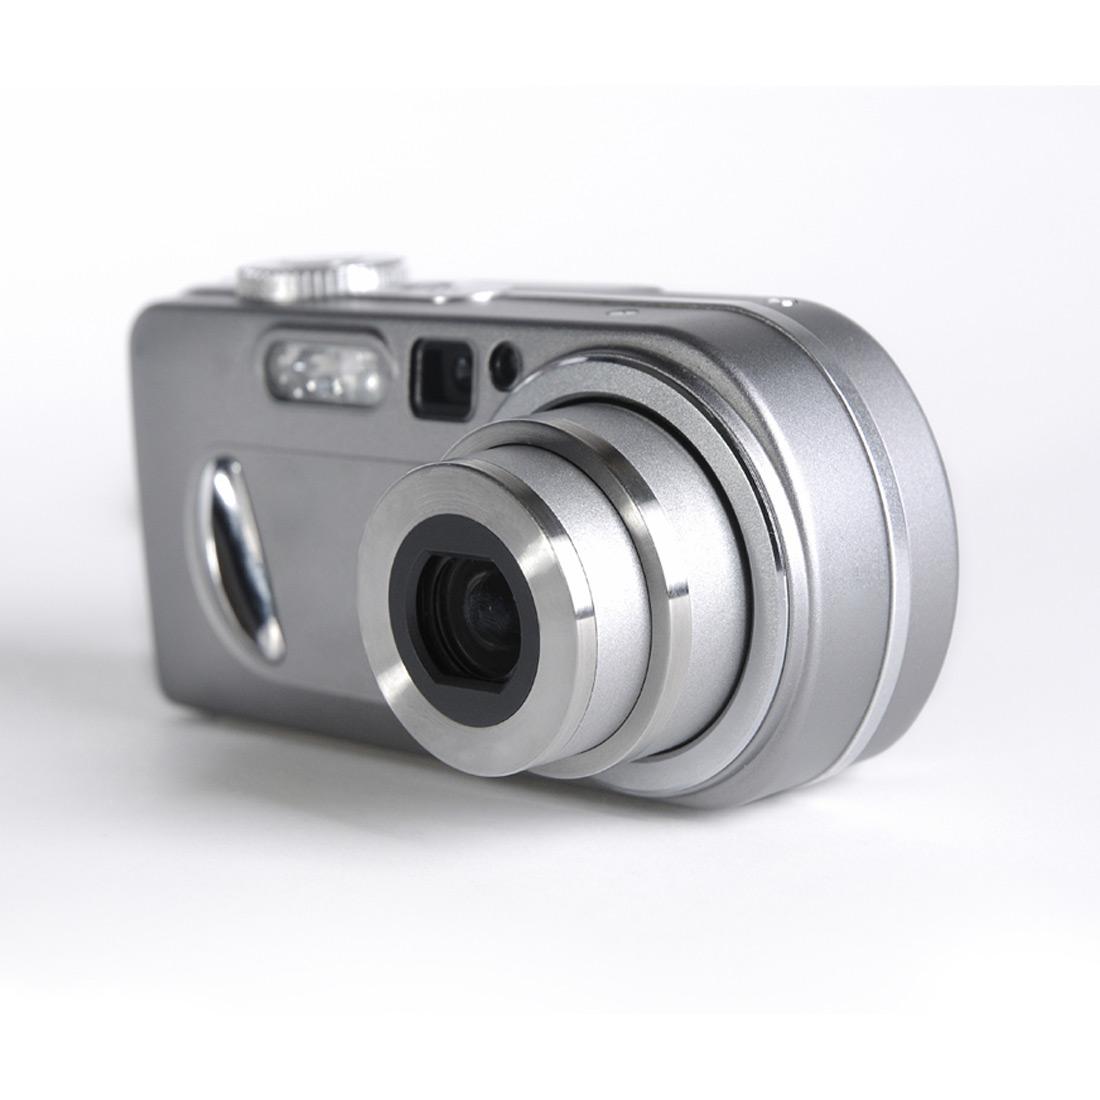
      olympus-stylus-750-7-1mp-digital-camera-2Most digital cameras available on the market allow you to simply point your camera and quickly snap a picture with the touch of a button, there is often a lot more going on behind the scenes than you may have realized.

      All sorts of things happen in the camera once the shutter button is pressed. And understanding the most important terms about digital cameras will allow you to make an informed purchase of a new digital camera, let you have more control over your digital camera’s features, and help you to take the best quality photos possible.

      1. Megapixel

      The term megapixel refers to the maximum resolution at which a digital camera can take photos. Simply put a megapixel is a million pixels. This means that a camera with a range of 4 megapixels can take photos which each contain a maximum of 4 million pixels.

      But what does this mean to you? One word: quality. A higher megapixel count means better quality photos, and considering the price of digital cameras getting lower all the time; you should try to stick with a digital camera that has at least 5 megapixels, especially if you intend of making large prints of your photos.

      2. Digital Zoom

      Digital zoom is a term that seems to be given a lot more attention than it deserves. Unlike optical zoom, which uses the physical lenses inside the camera to enlarge a scene, digital zoom electronically enlarges the pixels in the center area of a photo, meaning that any time you use the digital zoom function on your camera you are sacrificing the quality of your photos. My recommendation is to disable the digital zoom function all together to stop this from happening.

      3. Focal Length

      Unlike zoom, focal length is a term overlooked far too often in amateur photography. Focal length refers to how much the lens of a camera can magnify a shot. Focal lengths are generally split into two categories, these being wide-angle and telephoto, which are better for spacious and narrow fields of view respectively.

      Digital camera manufacturers seem to provide wide-angle lenses in a lot less cameras, even though these lenses are better suited towards the type of photos that most people commonly take.

      4. ISO

      The term ISO, formerly called ASA in old film cameras, stands for the International Standards Organization, but what does this have to do with your digital camera? The organization sets standards for photography, and the ISO range of a camera refers to how sensitive the camera is to light.

      A low ISO number (100 or under) is not very sensitive to light, and is best for shots in good lighting conditions. A higher ISO range means that the camera will be suitable for photography in darker conditions, so it is best to look for a camera that has an adjustable range; ISO 100 to 400 should be adequate for most people’s needs. Just remember that high ISO’s can introduce “digital noise” into a photograph.

      5. Shutter Lag

      Shutter lag refers to the time between pressing the button to take a photograph and the time when the picture actually gets taken. This may not seem a very important factor when buying a camera, but think of it this way: if you have to wait a second or longer for a photo to be taken, like with many older and inexpensive digital cameras, then chances are that you won’t end up with the photo you desired. Many camera manufacturers do not list the shutter lag time for their cameras, so the best way to find this out is by testing a camera before you buy.


      I hope that this post has helped you to better understand some of the most important terms used when talking about digital cameras, and in turn will help you to choose the digital camera that best suits your needs. I think that testing a digital camera before you make a purchase can help greatly when it comes to making a final decision, and it makes sense to do so; you may be using the camera you choose to capture your memories for years to come.

      Blessings.

      Chris

      Posted in Photography Tips & Techniques Also tagged , , , , |

      Great Night-time Photographs

      light_streakHave you ever seen a photograph of a city at night? Have you seen those photo’s with the highways almost alive with streaks of red and light light from cars whizzing by? Have you ever tried to take a shot like that and not be able to figure it out? It can be complicated but it is something that everyone can do with the right camera.

      The first thing that is required to get a shot like this is a tripod. Don’t have a tripod? Then pack up and go home. You need to be able to secure the camera so it doesn’t move at all and a tripod is a sure way to do that.

      After securing your camera, set it so that you have a long exposure shot. Turn off ‘auto’ (and the flash) and enter the mode that allows you to set the shutter speed. You will need to experiment with the correct amount of time to keep the shutter open: start with a full second and adjust from there. If your camera is fully manual, you might set your ISO at 100 (this will eliminate background “digital noise”) and set your aperture at f8. Now continue to adjust your shutter speed to get the right exposure.

      When you shoot the photograph, do not press the button. This will introduce movement into the photo and it will blur the entire image. Alternatively, set the self-timer or use an off-camera shutter depress mechanism if your camera has one.

      If your camera allows for all this, you should be able to capture some killer night shots.

      Best wishes for awesome photographs.

      Chris

      Posted in Photography Tips & Techniques Also tagged , |