The Best Time for Wedding Photographs
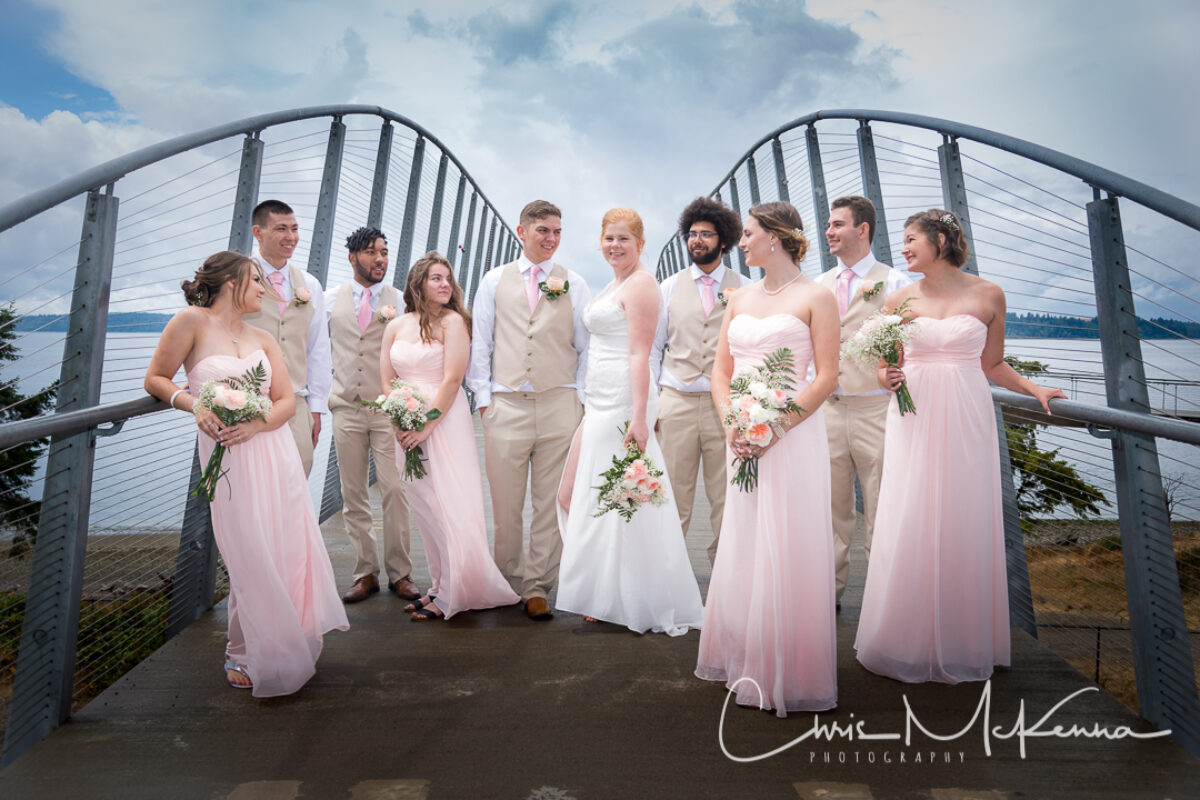
Hello friends. One of the most significant elements of a wedding day is the photography. The images captured will become cherished memories, shared with friends and family, and revisited for…
Hello friends. One of the most significant elements of a wedding day is the photography. The images captured will become cherished memories, shared with friends and family, and revisited for…
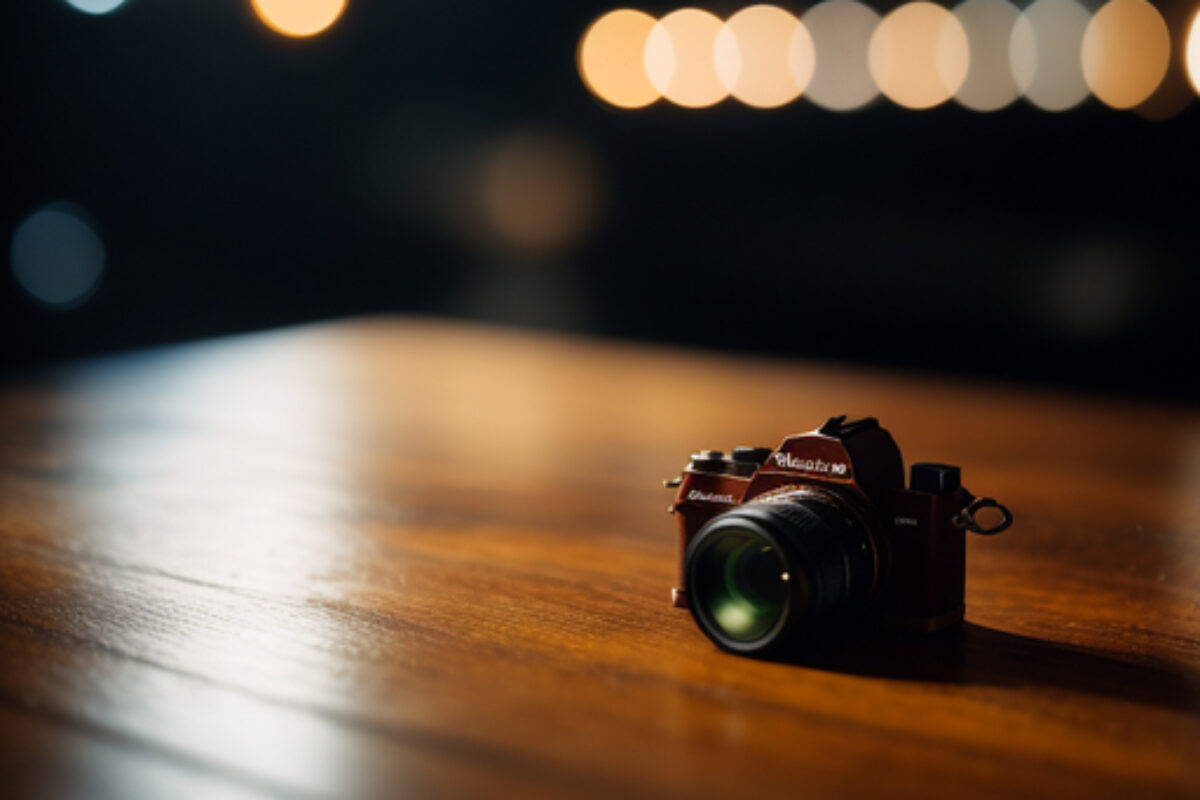
Hello aspiring photographers. Selecting the right camera is an exciting yet daunting task, especially when you're just starting out. As a professional photographer, I've seen many beginners struggle with this…
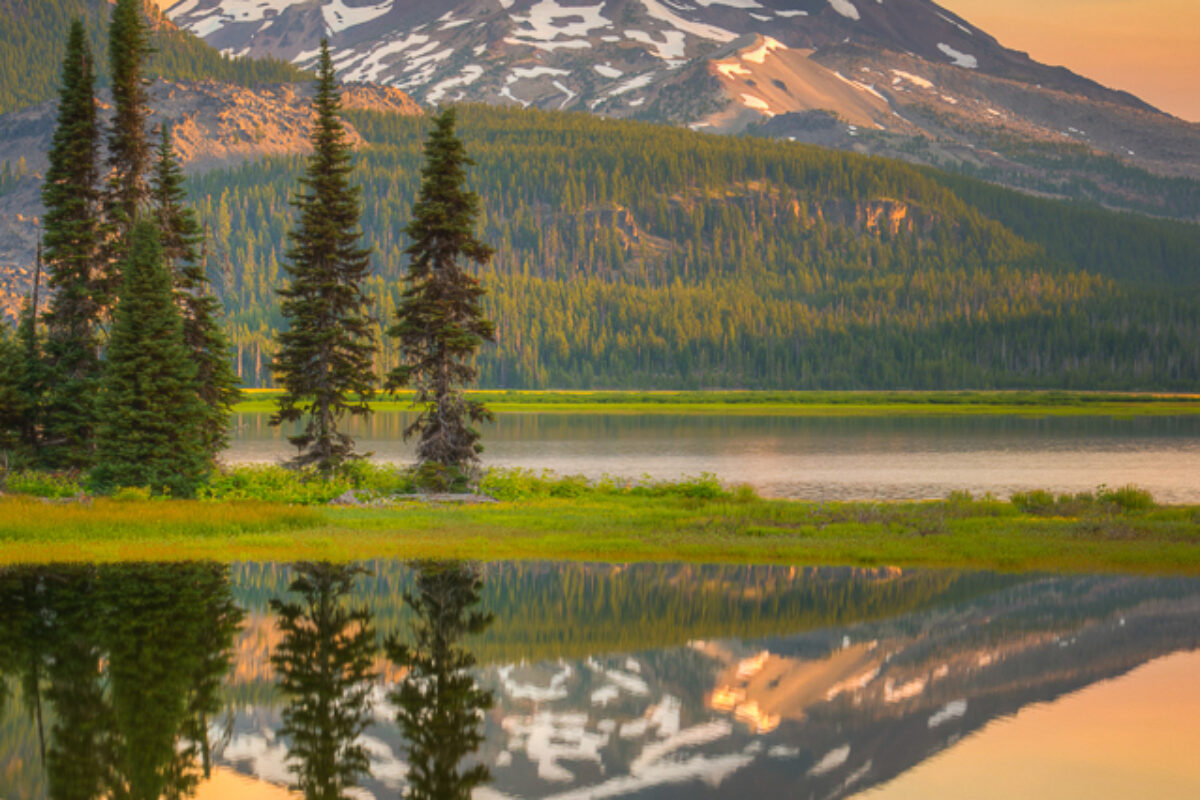
Welcome to our photography blog, where we're excited to share a timeless composition technique that can instantly transform your images into captivating works of art. Today, we're delving into the…
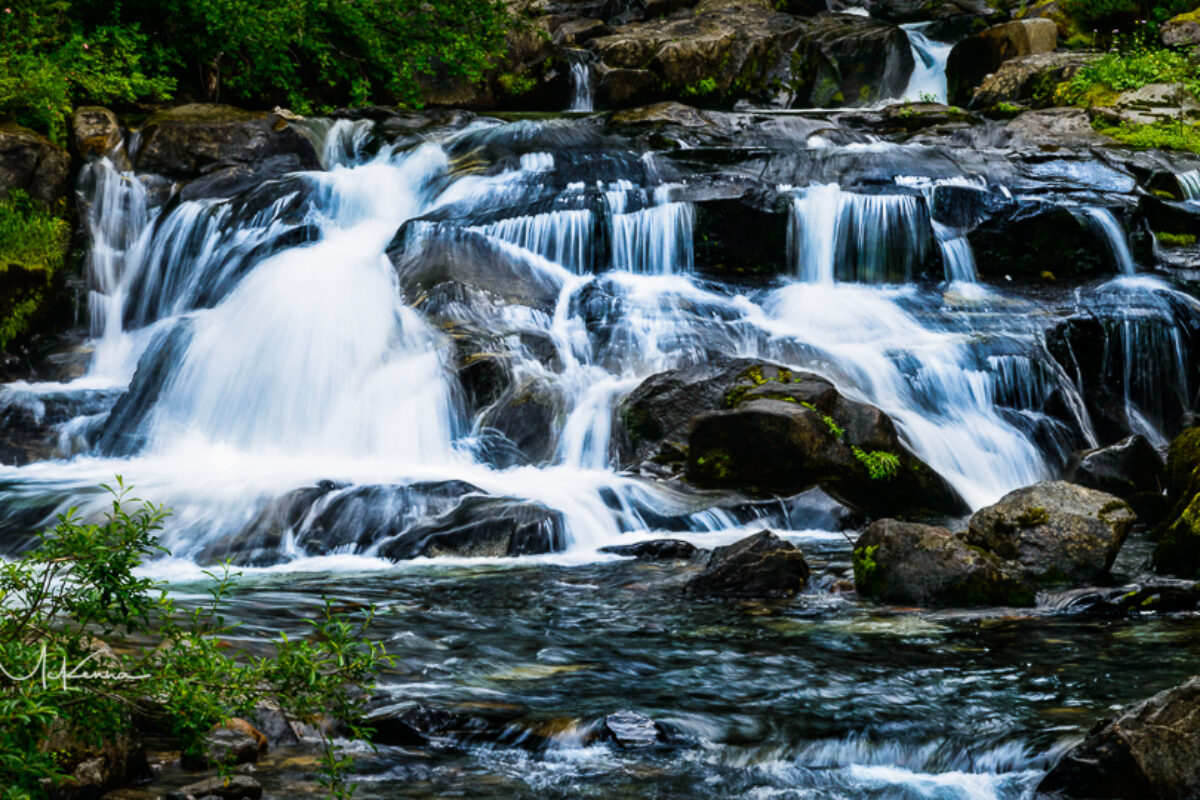
Hello friends and welcome back to our photography blog, where we sometimes explore exciting techniques to help elevate your photography to the next level. Today, we're diving into the captivating…